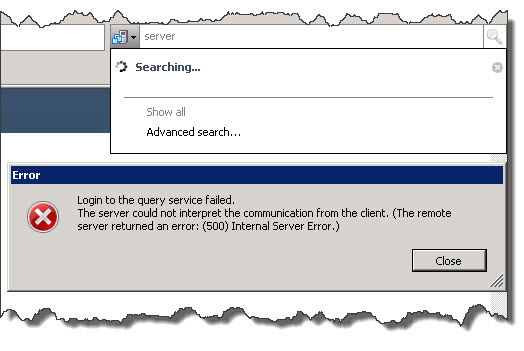
When attempting to run self-extracting Microsoft Exchange Server 2013 cumulative update files, some users may encounter an "Access Denied" error. This issue can occur due to insufficient permissions or incorrect user account settings. If this error occurs, the update process cannot proceed, potentially leaving your Exchange Server vulnerable to security threats and other issues. In this blog, we will explore the reasons behind this error and provide some solutions to help you successfully run the self-extracting cumulative update files.

The error was popping up when the autorun.inf file was being extracted. It turns out that the antivirus realtime scan was blocking autorun.inf.
Note; This error may be encountered when extracting any zipped files that contains files like autorun.inf, *.bat files etc.. and the antivirus will detect as threat to the security of the computer.
So I wrote this workaround to assist anyone who is facing the same problem. There may be other reasons like the file may be corrupted but this guide is specific to what I encountered at that time.
Environment
- Windows Server 2008 R2 Datacenter
- Microsoft Exchange Server 2013
- Microsoft Exchange Server 2013 Cumulative Update 9 (file I am installing)
So here we go.
Method 1:
1. Download and install Winrar (download from here: http://www.rarlab.com/download.htm).
2. Located the self-extracting file on your computer and right-click on the mouse. Left-click Open with WinRAR

3. Scroll down so you can see the autorun.inf file.

4. Press CTRL+A to select all files. Then press and hold CTRL on the keyboard and left-click the autorun.inf to deselected.

5. Click Extract to. Select a destination path and click OK

6. The self-extracting file will start extracting to the destination path you choose. Note: The autorun.inf have been deselected.

7. Once the extraction is completed, you should see all the files without autorun.inf
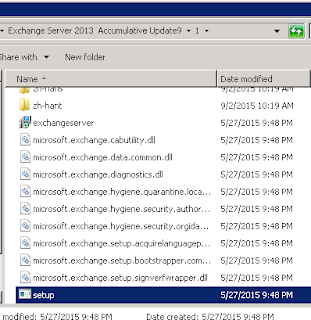
8. Proceed with the installation using the executable file.
Method 2
You can temporarily disable the Antivirus realtime scanner. Although not all the antivirus software may have this option
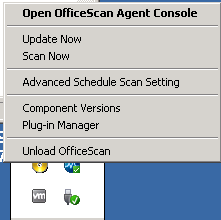
For my case, Trendmicro Officescan Agent was blocking the autorun.inf.
1. Right-click on the Officescan Agent and click Unload Officescan
2. Enter the password and click OK
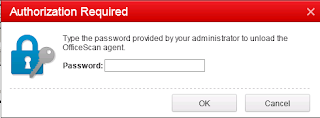
I did not know the password so I had to use Method 1.

8. Proceed with the installation using the executable file.
Method 2
You can temporarily disable the Antivirus realtime scanner. Although not all the antivirus software may have this option
For my case, Trendmicro Officescan Agent was blocking the autorun.inf.
1. Right-click on the Officescan Agent and click Unload Officescan
2. Enter the password and click OK

I did not know the password so I had to use Method 1.